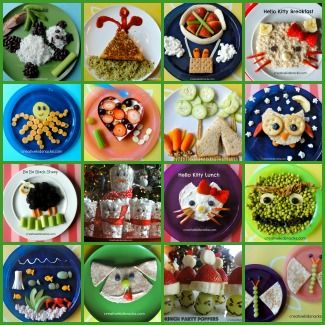
Thanksgiving is coming up quickly. Holidays are such a fun time to make a creative, healthy snack for kids to celebrate the season. There are tons of amazing ideas out there for Thanksgiving food for kids, and today I’ll add one more to the mix.
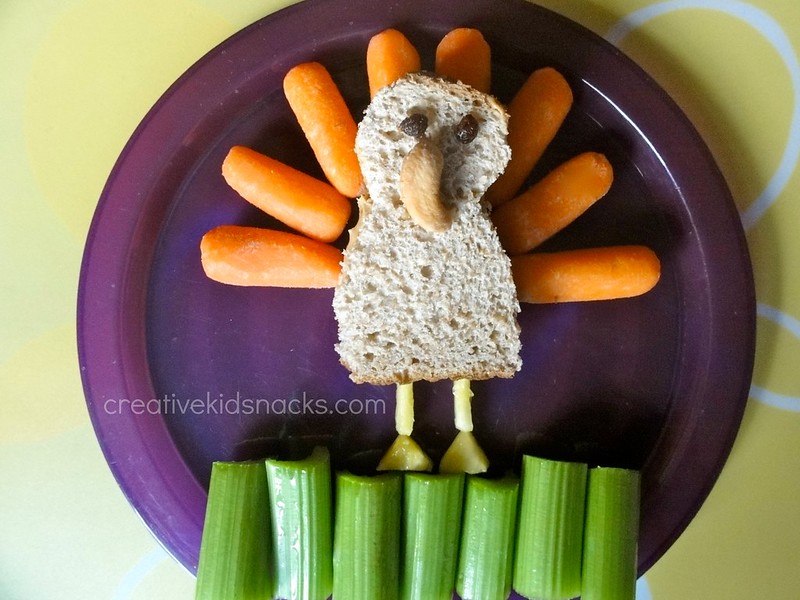
Thanksgiving PB Apple Turkey

Ingredients
2 T creamy peanut butter
1 stick celery
1 small apple
1 almond
Directions
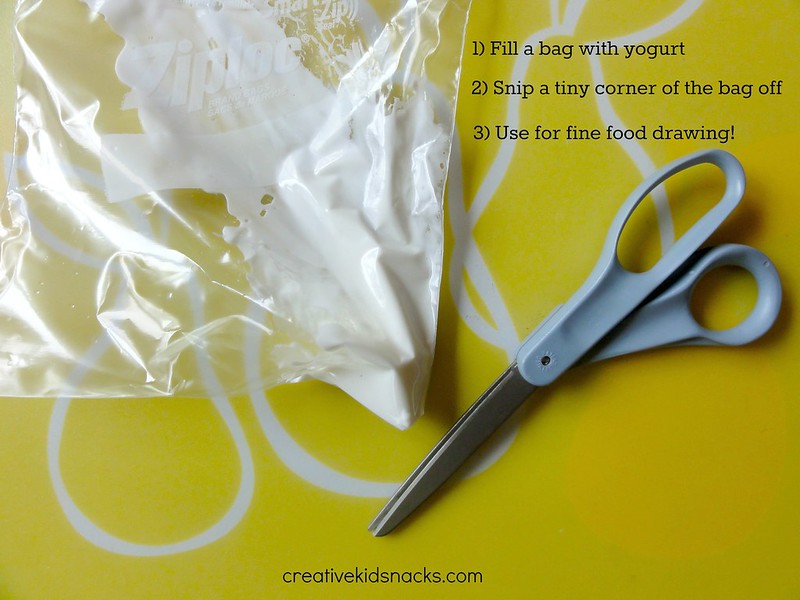
Place the peanut butter into a zip top baggie and snip a piece off of the corner of the bag. Pipe the peanut butter onto the plate as shown for the turkey’s body and legs. Slice an apple and arrange slices around the turkey’s body to look like feathers. Add some celery “grass” below the turkey by placing some cut up celery there. Finally, slice the two ends off of an almond and place into peanut butter for turkey’s eyes. Use remaining almond to slice a triangle shape and place beneath eyes to look like a beak.
Simple and fun. The best part is that the kids can dip the celery and apples into the peanut butter to eat. My girls cleaned their plate!
Alternative serving suggestions:
Almond butter in place of peanut butter
Raisins for eyes and beak
After you serve this guy to your kiddos as a snack, try this turkey for lunch. Your little turkeys will love it!
Read the preparation instructions for this lunch.
Have a Happy Thanksgiving!