The resurrection of Jesus Christ is, in my eyes, one of the singe most important events of all time. On Easter, we celebrate the death, burial, and resurrection of Jesus, conquering sin and death, and paving the way for all who believe in him to have forgiveness and everlasting life.
After Jesus’ death, his body was placed in a garden tomb by a couple of his disciples. Three days later, Mary Magdelene went to the tomb to anoint the body with spices and oil, and saw the stone rolled away from the tomb entrance. As they entered the tomb, they saw an angel who said to them, “Don’t be alarmed,” he said. “You are looking for Jesus the Nazarene, who was crucified. He has risen! He is not here. See the place where they laid him. 7 But go, tell his disciples and Peter, ‘He is going ahead of you into Galilee. There you will see him, just as he told you.” (Mark 16:6 NIV).
Resurrection day proved that Jesus was who he said he was. The son of the most high God, able to defeat even death, so that we who believe may live! Amen!
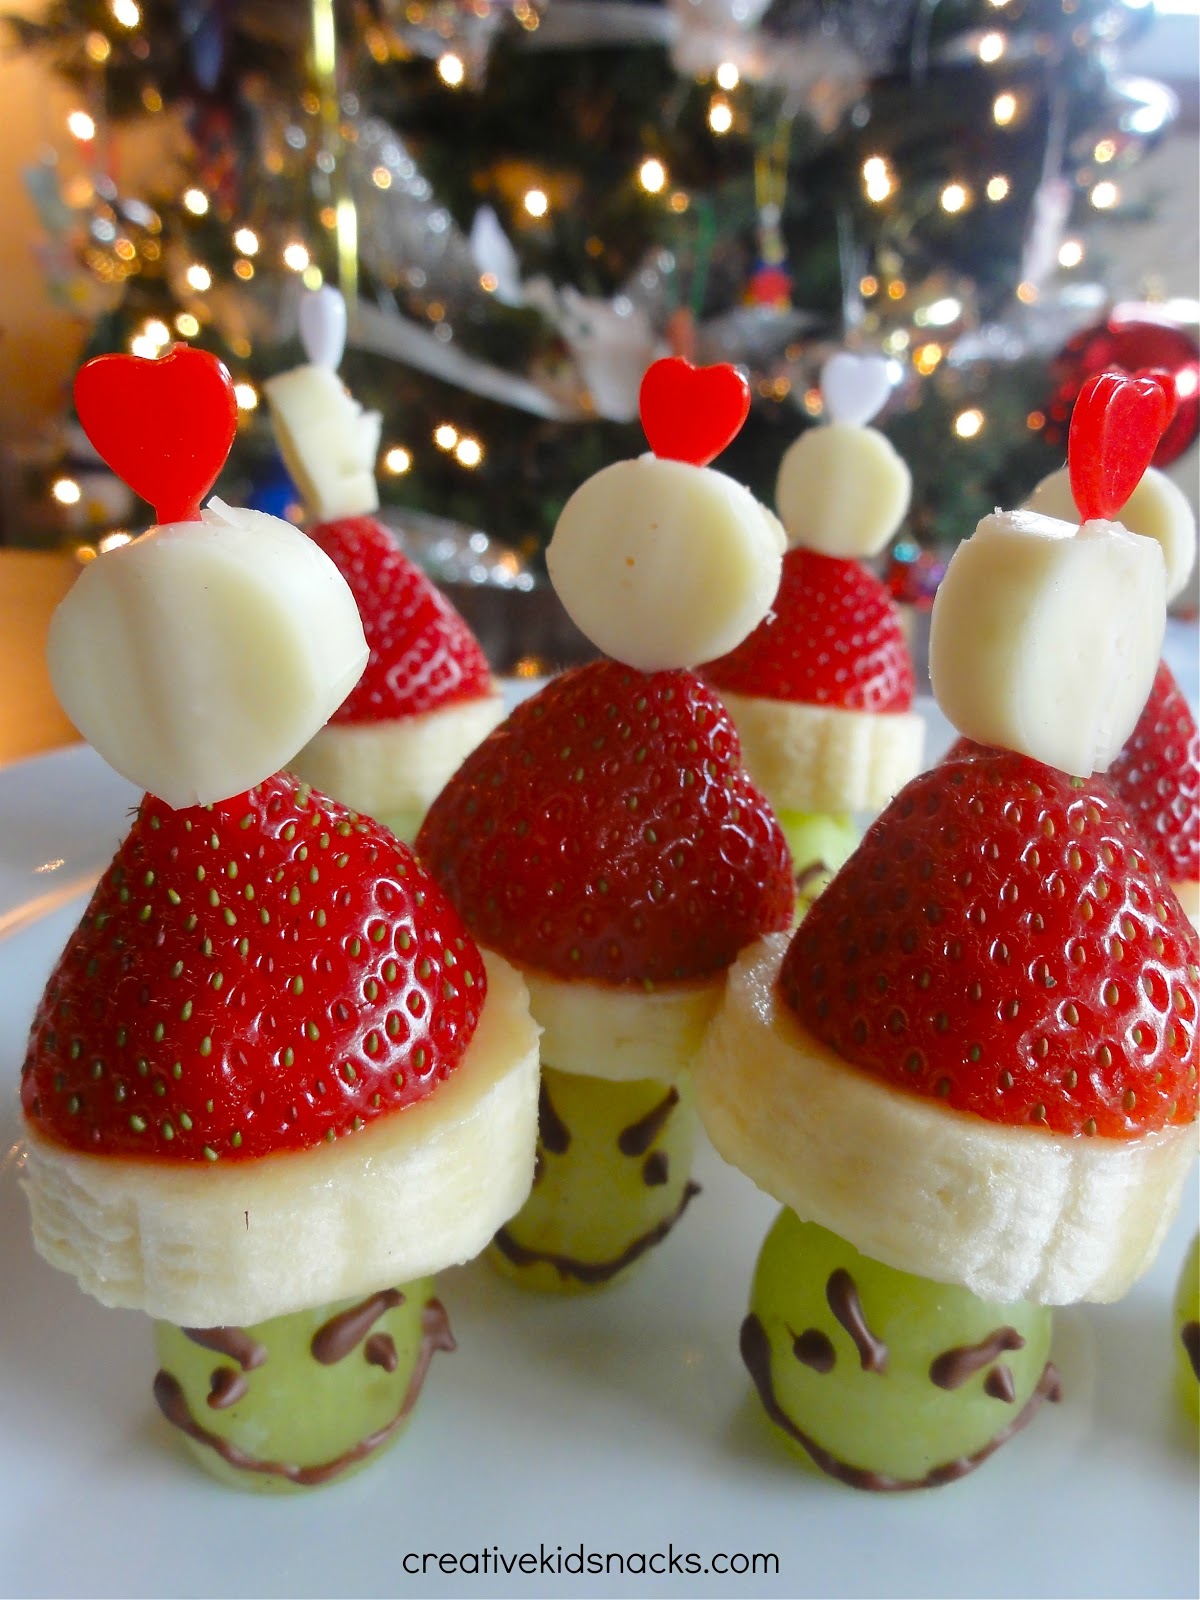
This Easter snack will help you to teach the story of Jesus’ resurrection to your children. Read the story from Mark 16 or John 20, (or read it from the Children’s Bible – here’s the one we use), and then make this snack together.
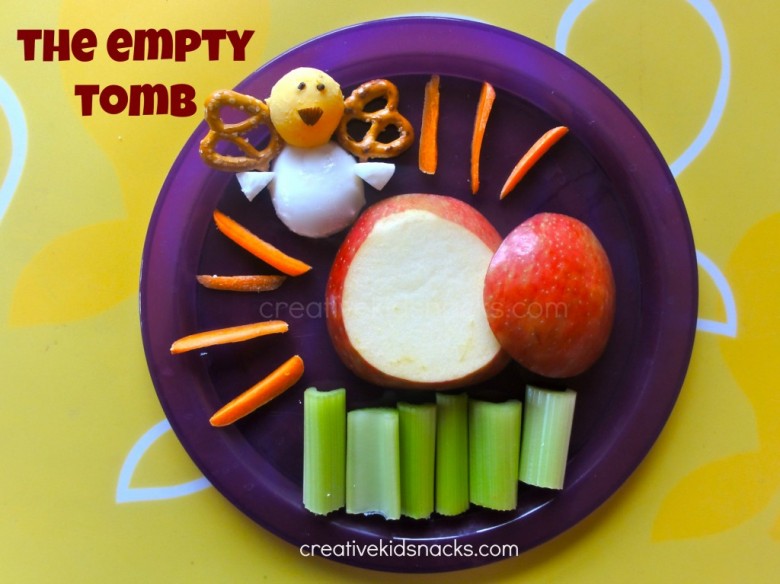
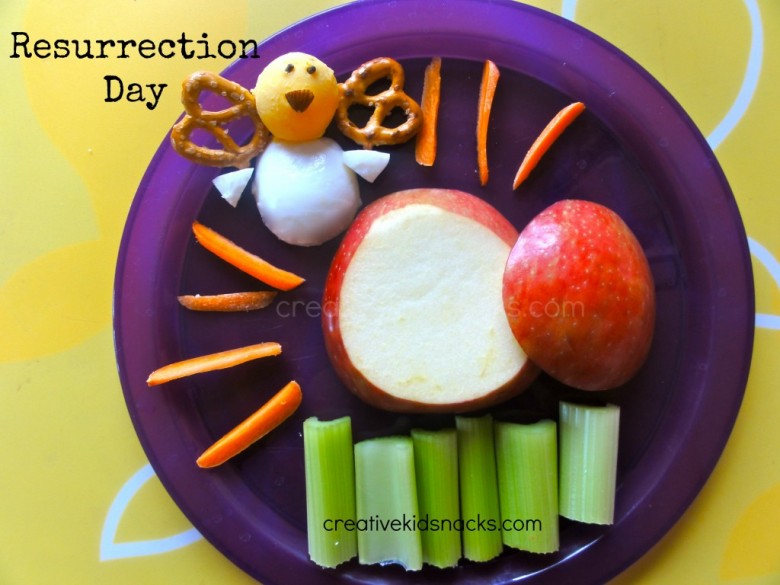
To make this snack, start with the tomb. Slice an apple near the core on one side so you have a nice large chunk of apple. Then slice that in half so that there is one round “stone” piece and another that looks like an empty tomb. Easy! Next, thinly slice a baby carrot and place the strips around the tomb to look like beams of light. Add some celery grass underneath the tomb. (After all, the tomb was in a garden)!
Next, slice a hard boiled egg in half to use as the angel’s body. Carefully pop out the yolk of one of the halves and place it on top as the angel’s head. Slice two small traingles off of the half of boiled egg you didn’t use for the body, and place those next to the body as arms (well, sleeves). Add some pretzels as wings, and use a small almond for his smile and tiny brown sprinkles for his two eyes. I normally use raisins for eyes, but this guy’s face was too small for that!
You now have a delicious, nutritious, and educational bible story for lunch. Enjoy!
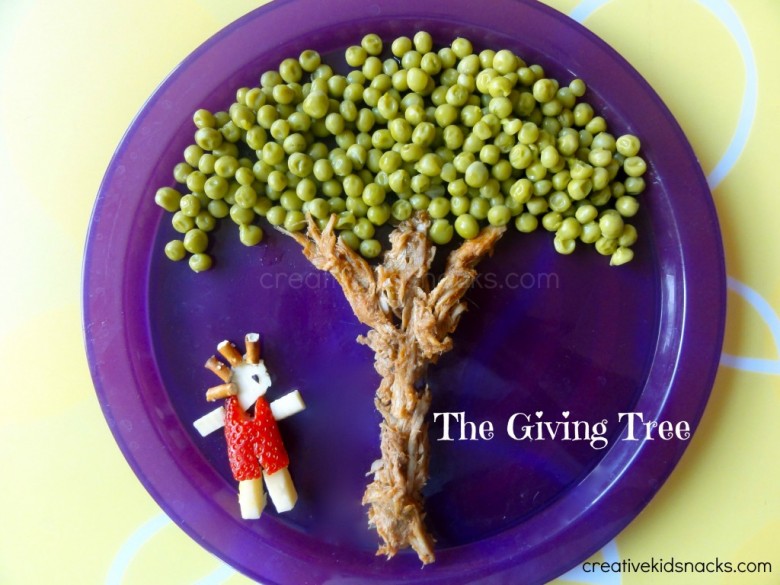
If you enjoyed this Easter snack, check out our other biblical snacks like Jesus’ birth, Jesus on the cross, Jonah in the big fish, and more.


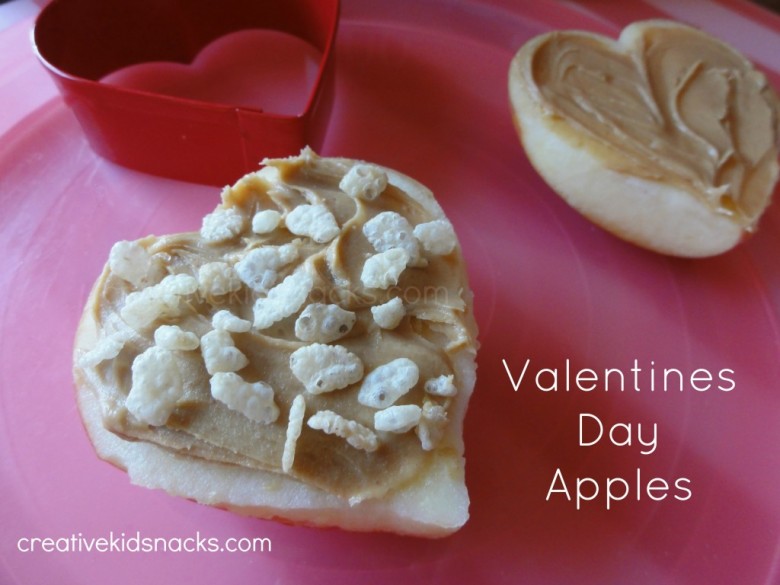
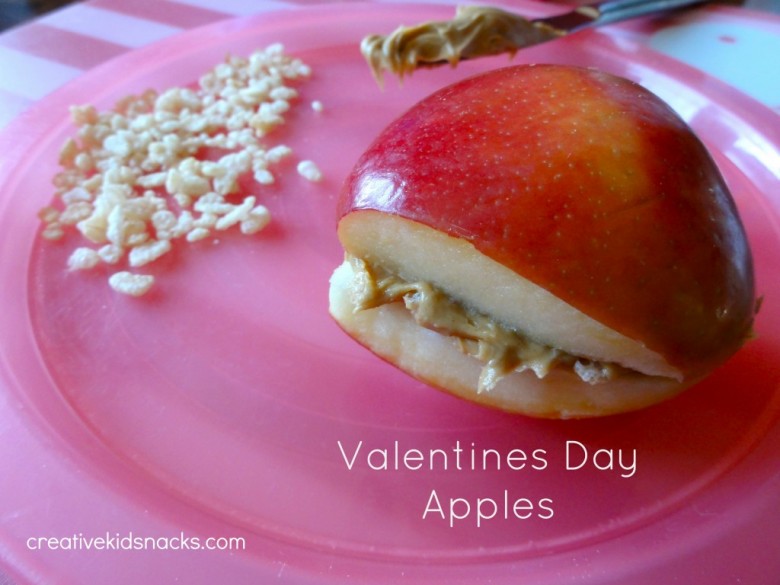
 Can't tell whether the oatmeal one or the apple one is my favorite!")
")

")