Easter is coming, and I love the idea of combining meal time with teaching and learning time. Teaching Bible stories is especially important in our family, and, with Easter coming up, I thought I would put together a post featuring snacks designed to tell the story of Jesus. I plan on making these snacks for my kids during the month of April this year in order to serve as a time of remembering Jesus’ life and what He came to do on earth.
Note: Some may find it difficult to wrap their mind around the idea of portraying Bible stories with food. It may appear irreverent or give the impression that the stories of the scriptures are somehow being reduced to a plate of food. The reason I have prepared these little plates for my girls in the past is to celebrate the Bible. We love to talk about Bible stories and use lunch time as an opportunity to learn and re-read them. It is because I love my Lord Jesus that I include His story in the creative snack time. His story is the best of all, and these dishes are meant to celebrate it.
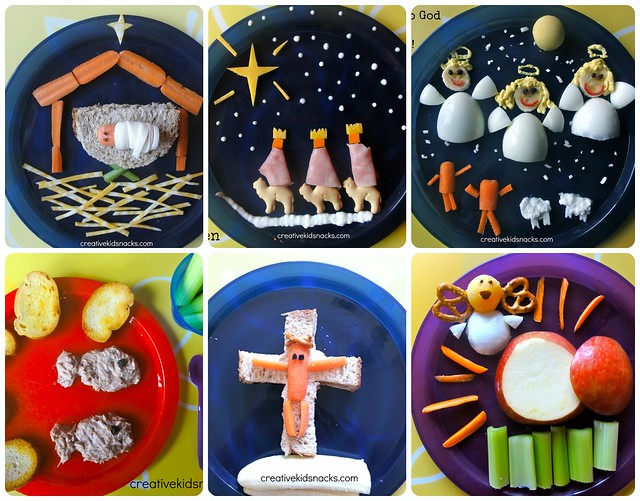
Click on each title or picture to read all about how to make each snack. I will share some ideas of what to do to expand on each story portrayed in each photo.
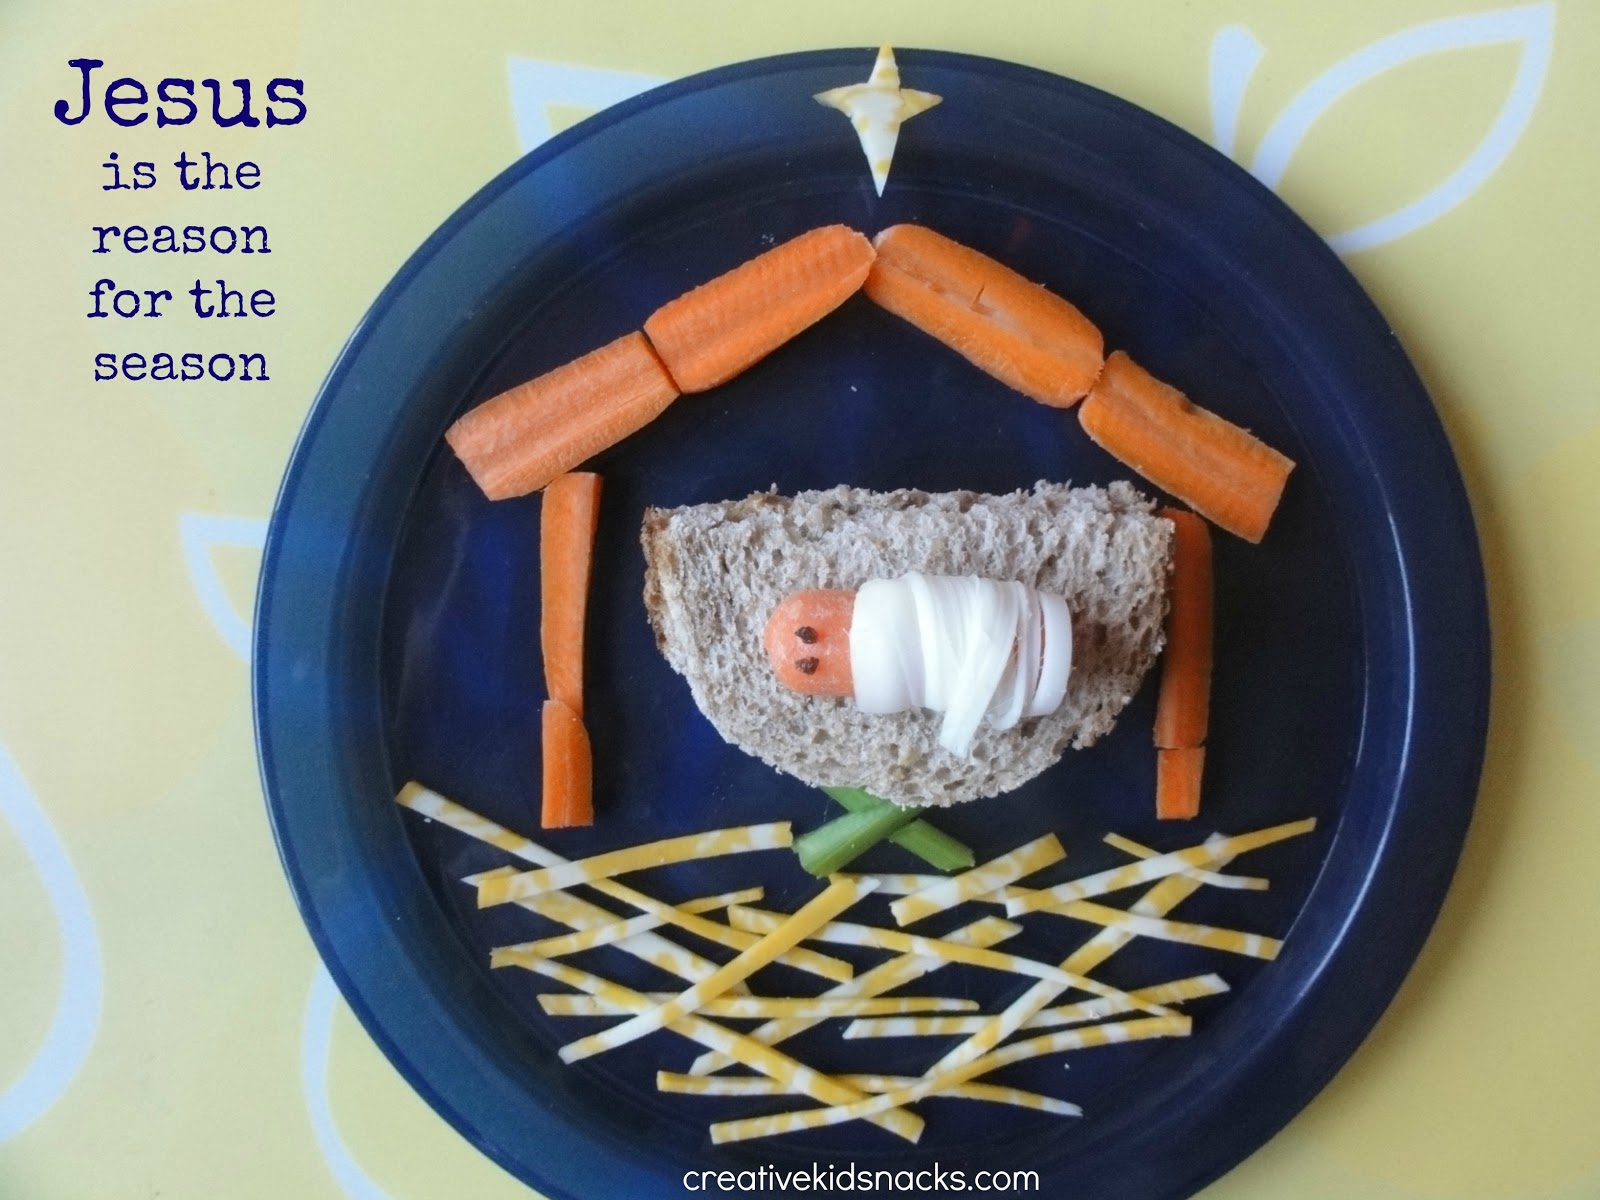
Jesus’ Birth

- Read Jesus’ birth story in Luke 2
- Sing “Away in a Manger”
- Set up a nativity scene or act out the story as a family
Angels Announcing Baby Jesus is Born

- Read the story in Luke 2 (verses 8-14)
- Sing the song “Angels We Have Heard on High / Gloria”
- Shine flashlights into a dark room and repeat what the angels sang ““Glory to God in the highest heaven, and on earth peace to those on whom his favor rests.”
The 3 wise Men

- Read the story in Matthew 2: 1-12
- Create pictures or 3-D models of gold, frankincense, and myrrh, and learn about why the magi chose to bring those items here.
- Have the kids pick out the offering they might bring if they were to go and visit the new king, baby Jesus.
5 Loaves and 2 Fishes

- Read the story of Jesus performing this miracle in John 6.
- Talk about how the disciples must have felt, what the miracle showed them about Jesus, and some of the things they think the crowds of people might have said as they watched this happen and ate the food.
- Pray and thank God for showing us his supernatural power through miracles like this one.
Jesus on the Cross

- Read the story in Luke 23
- Talk about how Jesus felt as he carried his cross up Calvary’s hill to be crucified.
- Remember the reason that Jesus chose to die (to make a way for our sins to be forgiven and allow us to be able to know and be friends with God and be with Him in heaven when we die). Pray a prayer of thanksgiving and gratitude for this incredible act of love Jesus performed for us.
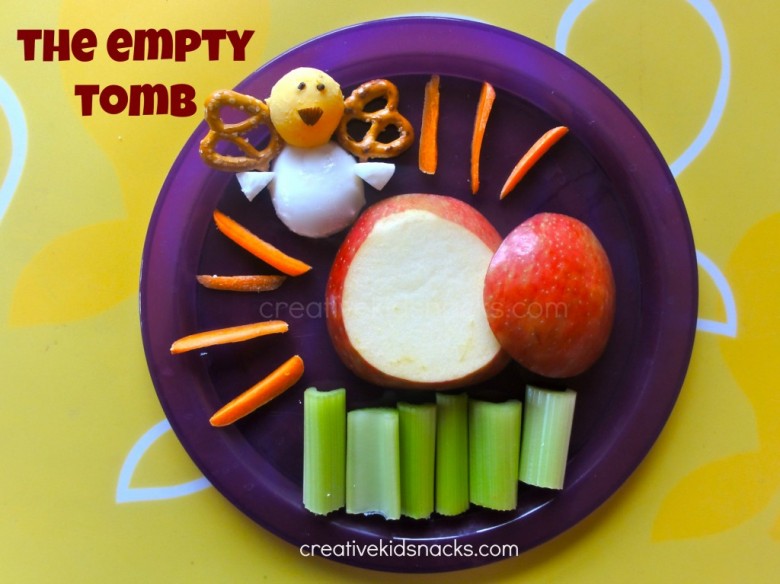
The Empty Tomb Lunch

- Read the story in Mark 16.
- Talk about how Jesus’ resurrection proved that He was who He claimed to be.
- Have the kids re-tell this story as if they were a guard. (The guards collapsed with fear when they saw the angels).
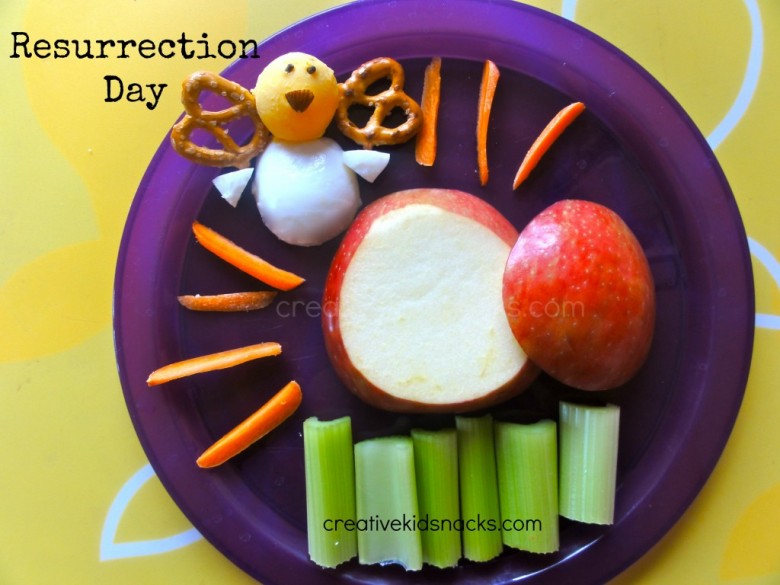
Resurrection Day Breakfast

- Read the story (same as above)
- Use the questions provided in the post on Resurrection Day Breakfast to talk through this story with the kids. (Very interesting questions!)
- Sing an Easter song about Jesus being alive.
If you enjoyed these ideas, you may also like our Resurrection Eggs. These are 4, super-easy special eggs to make as a family when you are coloring Easter eggs. There are directions on how to make each of the 4 eggs, as well as how to teach the significance of each egg as it represents part of the Easter story. Check it out!
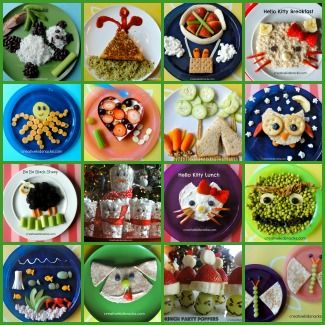
Also, check out our other cute Easter Snacks in this collection!


 Create the fish by combining 1/2 of a can of tuna with several tablespoons of mayonnaise or miracle whip.