Hello Kitty has become so popular with little girls lately, and mine are no exception. We have Hello Kitty pajamas, Hello Kitty purses, Hello Kitty shoes, and even Hello Kitty backpacks. We also love to celebrate Hello Kitty by making cute snacks. In the past we’ve made Hello Kitty Sandwich and a Hello Kitty Bagel. Make sure to check them out!
Today, we would like to show you our Hello Kitty Breakfast – Hello Kitty Oatmeal
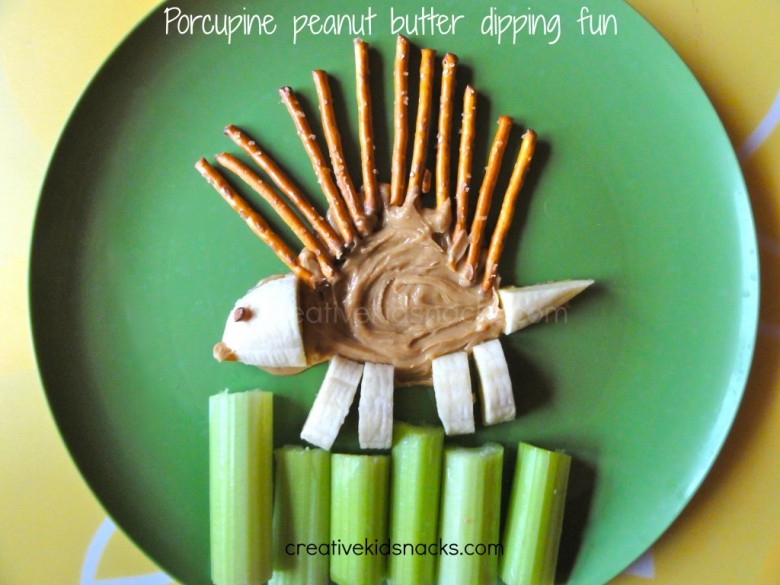
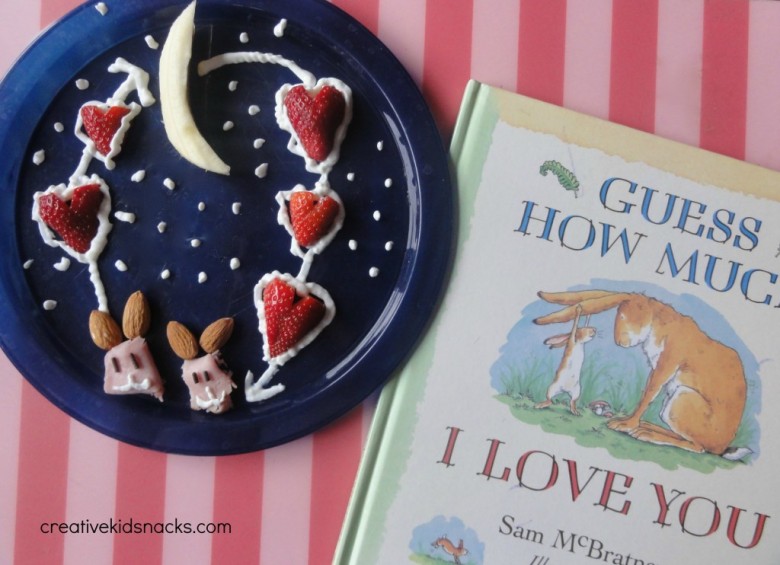
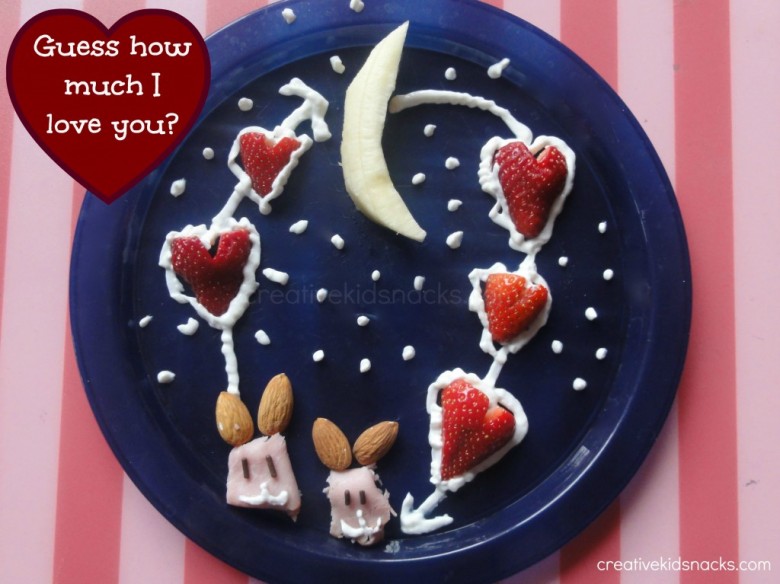
Hello Kitty Breakfast

Ingredients:
1/2 – 3/4 cup cooked oatmeal – (we use instant)
2 fresh strawberries
2 slices banana
2 chocolate chips
Directions:
Arrange your prepared oatmeal on a plate in an oval shape. Next, slice two ears from a round banana slice by creating a tip like a triangle on each one. Lay the ears atop the oatmeal at the top corners of the oval you have made. Next, find a small banana slice and place 3/4 of the way down the oval of oatmeal to be Hello Kitty’s nose. To make her bow, slice a strawberry in half, then place the tips of the two triangles together to look like a bow. Slice the bottom tip off of your other strawberry and place in the center of the bow to look like the knot. Use the remaining strawberry to slice thin whiskers for Hello Kitty. Place along the sides of the face. Finally, add two little eyes using chocolate chips.
This breakfast is sure to please any Hello Kitty Fan!
Health Benefits for Kids
Oatmeal is a great choice for breakfast for the kids. It is filling, full of fiber, and even protein. Read this article to learn more about all of the health benefits of oatmeal. Strawberries add a punch of vitamin C and antioxidants, and bananas are a rich source of potassium.
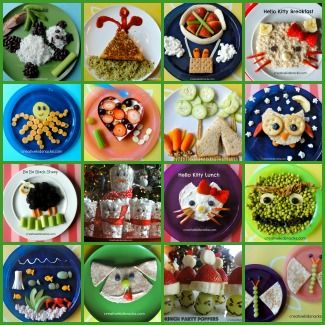
Other Hello Kitty Food
(Sharing HERE)
Did you enjoy today’s snack? Learn more about this blog here.